To secure your wordpress website you simply have to follow this simple guide. The ultimate easy to follow wordpress tutorial we made in order to help you securing your WordPress blog website the right way. On this tutorial we will use the WP Better Security plugin! Why !? This plugin have a lot of features and make all the necessary changes automatically instead of doing that manually and making mistakes that can drive your blog to be down.
Secure WordPress Website Guide
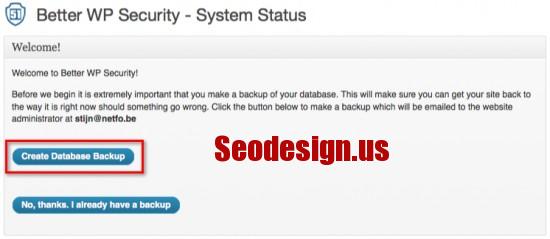
Backup Your Database
After installation of Better WP Security plugin from your Dashboard and activating it. The plugin will ask you to make a Backup of your Database.

Allow Better WP Security
After doing that you will get a window asking if the plugin may write to the WordPress core files (wp-config.php and .htaccess). Click the “Allow this plugin to change WordPress core files”

First Settings
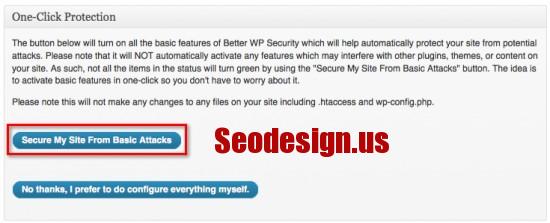
The first time you visit the dashboard of Better WP Security, you’ll see the following message:

As we will start to secure our wordpress blog, just click the “Secure My Site From Basic Attacks”.
Configuring and Securing our Blog
Now you will see the system status and how secure is your wordpress website.

You have to pay attention to the Items in red, they have to be fixed immediately! Go through the section and just fix what the plugin mark in red, they have to change to Green.
Advanced Configuration
In this section i will explain to you every tab and what you can do with !
User Tab
Here we have Two options:
- Change the Admin User Name: if you have a “admin” as username you have to change it to another name. this will avoid the Brute Force attacks
- Change the Admin User ID: Click the “Change User 1 ID” button to give your user id another id.
Away Mode
In most cases, it’s not necessary to permit access to the backend of your site 24/7. That’s why it’s not a bad idea to limit the login period.
Be careful when configuring this options; don’t lock yourself out!
Ban Tab
Here just check the box to enable HackRepair’s.com blacklist feature. Don’t forget to click the “Add Host and Agent Blacklist”.
Backup Tab
In this tab you can configure your database backups. The Plugin will make a Backup of the database and send it to your email. Nice no !
Database Prefix Tab
By default, WordPress uses the prefix “wp_” for all the tables in the database. It’s better to use a Unique Prefix so the plugin can change that for you.
Hide Tab
It’s very important to hide your WordPress directories such : wp-content and wp-admin so here you can change the directories names and the plugin will take care of the redirection and everything.
- Enable Hide Backend: check this option to hide your backend
- Login Slug: choose another URL for the login screen
- Register Slug: choose another URL for the register screen
- Admin Slug: choose another URL for the admin screen
The other tabs you can leave them by default, after finishing with this configuration, go back to your Hosting CPanel area => Manage files and Make the htaccess file and wp-config to 444 (Chmod Permission)
I hope this guide will help you securing your wordpress and if you have any other idea please share it with us!


