
According to google pagespeed the W3 Total cache is the plugin you need in order to speed up your wordpress blog loading and to optimize your css and js files plus the website cache. Here is the Best W3 Total Cache configuration settings to get the maximum from this awesome plugin and to optimize your wordpress blog.
The W3 Total Cache plugin comes with different options to configure and its use a combination of browser caching, page caching, database caching, object caching, CSS and JS files minify, CDN integration and much more other useful cache options. This quick wordpress tutorial with images is aimed for the new bloggers and the settings was tested on shared hosting. My website passed From 74/100 To 94/100 on Google Pagespeed Insight.
Best W3 Total Cache Plugin Configuration
Before we start please : W3 Total Cache Installation
– Deactivate any other caching plugin.
– install and activate the W3 Total Cache
– In your Dashboard, under the Settings You will see a Tab called : Performance Click on it to start the Configuration.
General Settings
In this area we will activate and enable the different services then we will go through the settings of one by one in order to make the best configuration.
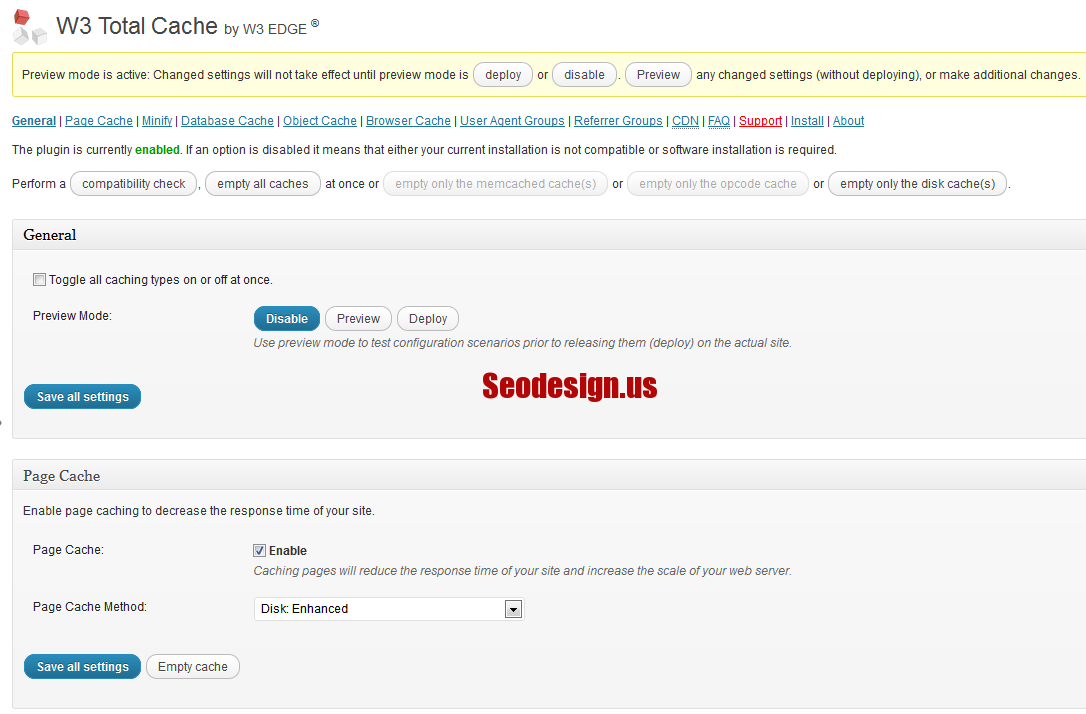
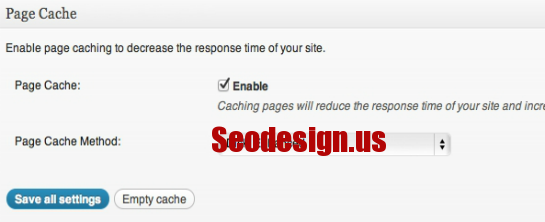
Page Cache Settings
- Enable the Page Cache
- Set Disk:Enhanced in Page Cache method.
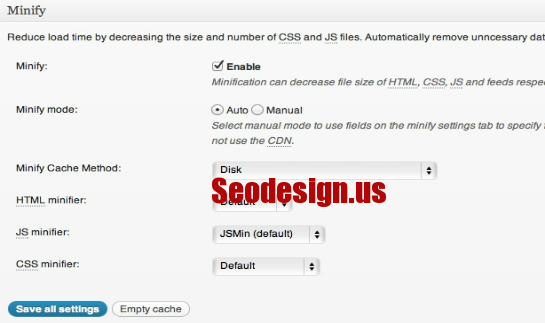
Minify Settings
- Enable the Minify
- Select “Auto” for Minify mode.
- Set “Disk” for Minify Cache method.
- Let the HTML minifier be kept as “Default.”
- Set “JSMin” in JS Minifier.
- Let the CSS minifier be kept as “Default.”
Database Cache Settings
- Enable it
- Set “Disk” in Database Cache Method.

Object Cache Settings
- Enable it
- Set Object Cache Method to “Disk”

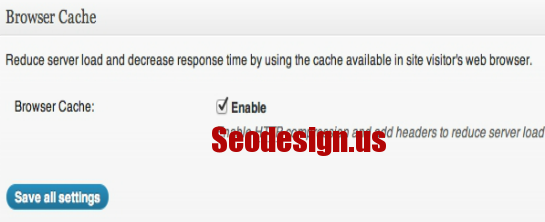
Browser Cache Settings
This is one of the important caching method used by W3 Total Cache because with this browser stores the pages you visit.
- Enable it.
Above settings are basic settings of the W3 Total Cache and now if you have CDN then you can enable the CDN settings. After CDN settings section you will find out two more settings to make “Cloudflare” and “Varnish” both of these are third party applications.
Miscellaneous
- In this section enable Verify rewrite rules and also enable “Google Page Speed Dashboard widget.” You can get the “Page Speed API key” from the link “APIs Console”

Page Cache detailed settings
The “page cache” page is divided into various sections, General, Advanced, Cache Preload and Purge Policy.
General Section Settings
In this section select the following only.
- Cache Home Page
- Cache Feeds: site, categories, tags, comments
- Cache request only for Yourwebsite.com hostname
- Don’t cache pages for logged in users.
Advanced Section Settings
Leave it to default settings and set the “Garbage collection interval” to 3600 seconds.
Cache Preload Section
In this section do the following.
- check the Automatically prime the page cache option.
- Set update interval to 900 seconds
- Set pages per interval to 10.
- Paste the sitemap URL.
Purge Policy Section
Leave it untouched to have default settings.
Minify Detailed settings
This settings page is also divided into several sections. Follow the instruction below.
General Section
- Check the “Rewrite URL structure” option.
- leave the “Disable minify for the logged in users” unchecked.
- Set “Minify error notification” to disabled.
HTML and XML Settings
- In “HTML minify settings” check the “Enable”, “Inline CSS minification”, “Inline JS minification” options only. Rest leave as it is.
JS
- In this section only select the “Enable” option and leave rest unchecked.
CSS
- In this section only select “Enable” option and leave rest unchecked.
Advanced
- Set “Update external files every” to 21600 seconds.
- Set “Garbage collection interval” to 21600 seconds.
Database Cache and Object Cache detailed settings
These two section doesn’t need to be edited, the default settings work fine for us.
Browser Cache detailed settings
As we said earlier this is the most important settings of W3 Total Cache plugin.
General section
- Only enable set Last-Modified header, set expires header, set cache control header, set W3 Total Cache header and enable HTTP (gzip) compression.
CSS And JS
- Enable set Last-Modified header, set expires header, set cache control header, set W3 Total Cache header and enable HTTP (gzip) compression.
- Set “Expires header lifetime” to 31536000 seconds.
- Set “Cache Control Policy” to “cache with max-age”
HTML and XML
- Enable set Last-Modified header, set expires header, set cache control header, set W3 Total Cache header and enable HTTP (gzip) compression.
- Set “Expires header lifetime” to 7200 seconds.
- Set “Cache Control Policy” to “cache with max-age”
Media and Other Files
- Enable set Last-Modified header, set expires header, set cache control header, set W3 Total Cache header and enable HTTP (gzip) compression.
- Set “Expires header lifetime” to 31536000 seconds.
- Set “Cache Control Policy” to “cache with max-age”
Note that These settings work great on shared hosting, while more advance optimization through this plugin can be achieved if you use a VPS and Dedicated server hosting.
You have to check Google Page Speed score regularely or by using GTmetrix.
Please share this article with your friends on facebook, twitter and google+ !


